How to Transfer contacts to iPhone (iPhone 4)?
Still dreading the hassle that comes with moving the contacts from any sources to iPhone /iPhone 4? Now the troubles have got covered and you can transfer contacts to iPhone just in a few clicks. Carefully read the following guides and you will find you wanted answer in it.
Below are instructions for transferring contacts to iPhone/iPhone 4 from Nokia Phone and from an old iPhone with a wonderful transfer program iPhone to PC Transfer, it will guide you step by step to transfer your contacts to iPhone.


Tutorials: Transfer contacts to iPhone (iPhone 4)
1. Transfer Contacts from Nokia Phone to iPhone
Step 1: Insert the SIM that you want to use with iPhone into your Nokia Phone. On your Nokia mobile, go to Menu > Contacts > Options > Copy > All Contacts > Keep Original. Now all the contacts stored in your Nokia Phone is being copied into your SIM card.
Step 2: Once it is finished copying, insert this SIM card back into the iPhone. On Apple iPhone go to Home > Settings > Mail, Contacts, Calendar > Import SIM Contacts, now your iPhone will copy all the contacts on the SIM that you have put on it from Nokia mobile.
2. Transfer Contacts from current iPhone to new iPhone
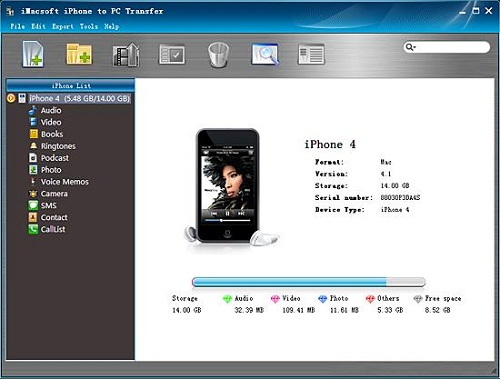
Step 1:Download and run the iMacsoft iPhone to PC Transfer program. Plug your current iPhone into your PC, and all your iPhone info is recognized and shown in the interface.
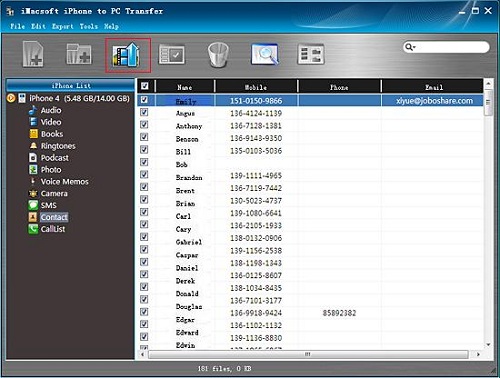
Step 2:Choose the exact contacts you want to transfer and hit the “Exported checked files to local” button in the top toolbar.
Step3: A new checkbox pops up and now select the folder for backup the contact and tap “OK” button. Now your iPhone contacts have been transferred to your PC and then restore iPhone contacts to relevant address book (outlook, Google, Yahoo etc.).
Step 4: Close the transfer program and unplug your old iPhone, then connect your new iPhone to your computer, and open iTunes.
Step 5: Select iPhone in the left navigation bar to bring up the Syncing options tabs across the top of the iTunes window. Step 6: Click “Info” option in the toolbar of iTunes interface, and then choose the exact address book stored your contacts from the drop-down menu.
Step 7: Press "Apply" button at the bottom left of the iTunes window to start sync contacts, now the contact stored in address book has been transferred to your new iPhone.>
Transferring is just a few clicks away when you begin to use the ultimate transferring program- iPhone to PC Transfer. Now you can have a try to transfer iPhone contacts to iPhone and taste the convenience and enjoyment of managing your iPhone that the transfer program brings to you.


 How to Transfer iPhone Contacts to SIM Card?